

 See My Latest Article on HelloNation
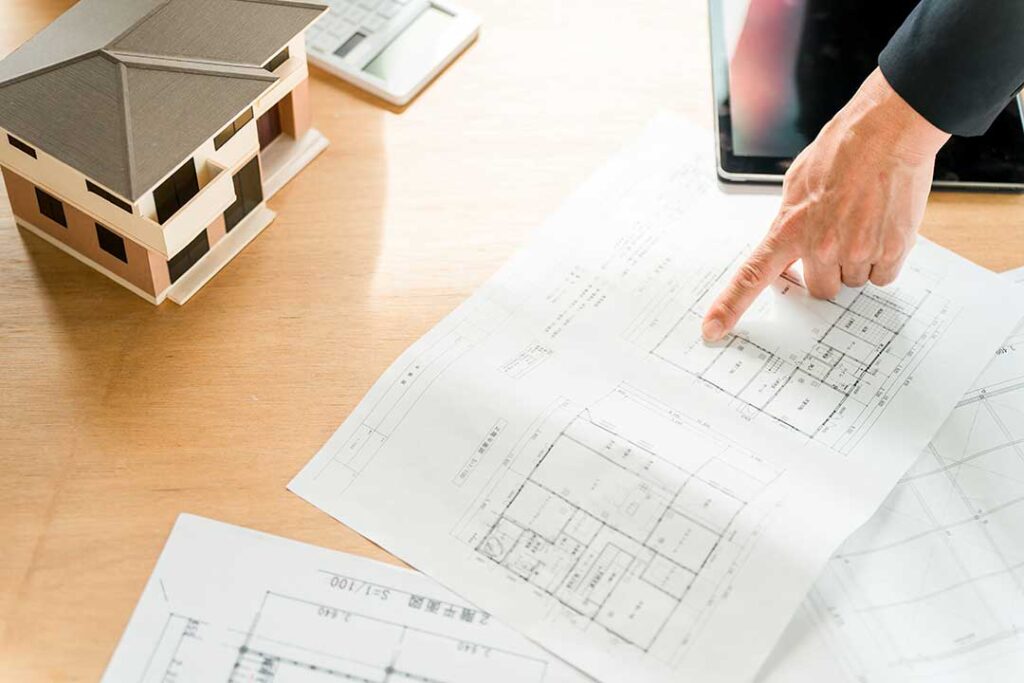
What is a home construction walkthrough?
A home construction walkthrough is a scheduled review of a newly built home before final acceptance, closing, or move-in. It gives the future occupants an opportunity to examine the completed work, understand how the home operates, and document items that still need correction.
The walkthrough is not simply a quick tour. It is a practical inspection of visible workmanship, installed systems, finishes, safety features, and promised details. Some homes have more than one walkthrough, including an earlier orientation, a pre-closing review, and a follow-up visit after repairs are completed.
A walkthrough does not replace an independent home inspection when one is appropriate. A home inspector evaluates construction and systems from a different perspective, while the walkthrough focuses on the home as delivered and whether agreed-upon features appear complete.
When does the walkthrough usually happen?
The main walkthrough generally takes place after construction is substantially complete but before closing or final acceptance. The exact timing depends on the construction schedule, inspections, utility connections, and whether unfinished items remain.
A home may appear finished while a few details are still pending. Examples include:
- Touch-up paint
- Missing hardware
- Final cleaning
- Adjustment of doors or cabinets
- Completion of landscaping or drainage work
- Installation of owner-selected items
- Correction of inspection findings
A written list of unfinished or defective items is commonly called a punch list. The list should identify each item clearly, including its location and the correction needed. Photographs can make the record easier to understand, especially when several rooms have similar doors, windows, fixtures, or finishes.
What should be checked during the walkthrough?
The most useful walkthrough follows a room-by-room process rather than relying on memory. Begin outside, then move through the garage, interior rooms, utility areas, and exterior features.
Exterior and site conditions
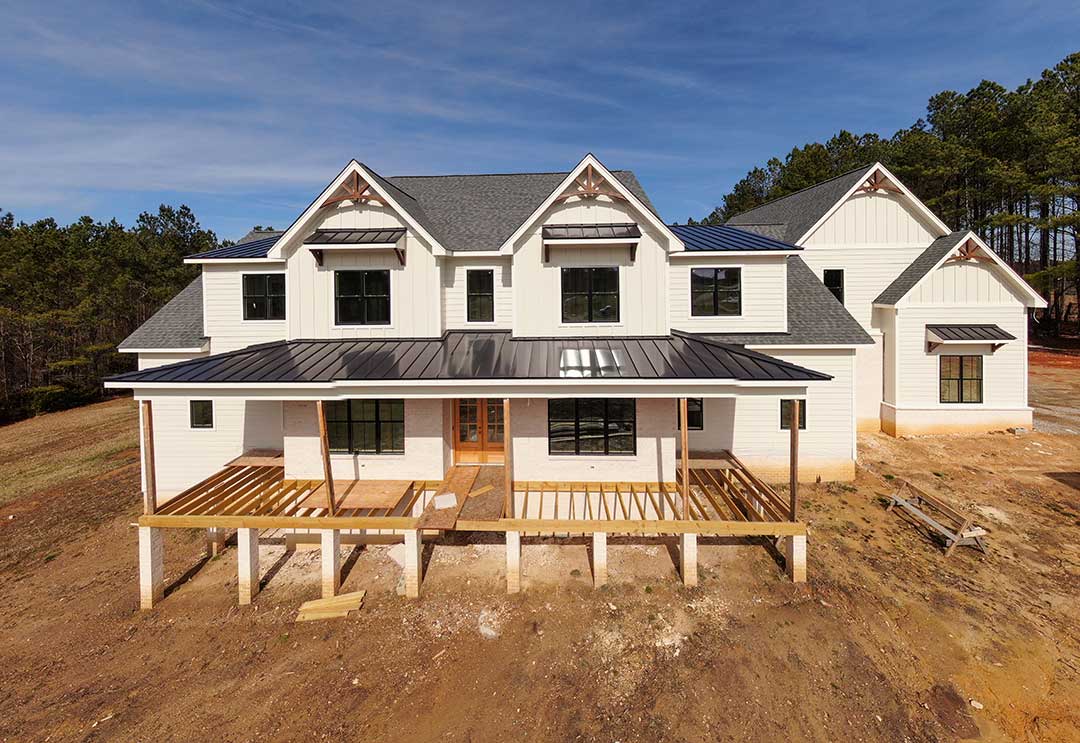
Look at the grading around the home, driveways, walkways, patios, exterior walls, roof edges, windows, doors, and drainage features. Water should generally move away from the foundation rather than collect beside it.
Local conditions in Odessa can make drainage and surface grading especially worth reviewing. Dry weather may hide problems that become visible only after a strong storm, so check for low spots, soil settlement, standing water, or areas where runoff could move toward the structure.
Also review:
- Exterior paint, siding, masonry, or trim
- Cracked or damaged windows
- Door locks, weather-stripping, and thresholds
- Hose connections and exterior lighting
- Fences, gates, and any included site improvements
- Air-conditioning equipment and protective covers
- Garage door operation and safety reversal
Do not assume that landscaping or soil placement is complete merely because the yard looks finished. Confirm what is included and whether recently disturbed soil has settled.
Interior rooms and finishes
Inside the home, examine walls, ceilings, floors, trim, doors, cabinets, countertops, and built-in features in good lighting. Look for damage, uneven seams, loose hardware, visible gaps, excessive paint splatter, or surfaces that do not operate as intended.
Open and close every interior door. Test cabinet doors and drawers. Walk across different flooring materials and listen for unusual movement or squeaking. Small finish imperfections may be easy to correct, but they should still be documented before acceptance.
Check that:
- Windows open, close, lock, and remain sealed
- Interior doors latch without rubbing
- Cabinet doors and drawers align properly
- Countertops are free of major chips or cracks
- Flooring transitions are secure and reasonably even
- Stair rails and guards feel stable
- Closets contain expected shelving and hardware
- Smoke and carbon monoxide alarms are installed where required
The walkthrough is also a good time to compare the completed home with the purchase documents, plans, selections, and change orders. A feature that was discussed verbally but not documented may be difficult to verify later.
Which systems should be tested?
Every accessible fixture and control should be operated during the walkthrough. Testing helps reveal problems that are not visible during a visual review.
Plumbing
Run faucets in sinks, tubs, and showers. Check hot and cold water, water pressure, drainage, shutoff valves, toilets, garbage disposals, and visible supply lines. Look under sinks for leaks and inspect caulking around tubs, showers, and countertops.
Do not wait for a future storm to think about water management. If a sump system, drainage feature, irrigation system, or other water-related equipment is included, ask how it operates and where its controls are located.
Electrical
Test light switches, outlets, ceiling fans, exterior fixtures, garage outlets, and ground-fault protection devices where installed. Bring a small night-light or outlet tester if allowed, but do not remove covers or open electrical panels unless a qualified person is handling that work.
Ask for an explanation of the electrical panel, shutoff locations, circuit labeling, and any backup power equipment. Labels should be understandable, and the panel should be accessible.
Heating and cooling
Operate the heating and cooling system in each available mode. Check that air flows from the expected vents and that thermostats respond properly. Ask about filter sizes, filter locations, maintenance access, emergency shutoffs, and normal operating sounds.
Because summer heat can place heavy demand on air-conditioning equipment in Odessa, confirm that the system starts reliably and that each living area receives reasonable airflow. A walkthrough is not a full performance test, but unusual odors, loud noises, poor airflow, or water around equipment should be documented.
Appliances
Run included appliances through basic functions. Check the range, oven, microwave, dishwasher, refrigerator, exhaust fan, disposal, washer connections, and dryer vent if these items are part of the home.
Review manuals, warranties, filter locations, cleaning requirements, and controls for appliances that are unfamiliar. Confirm that each item matches the selected specifications.
What documents and instructions should be provided?
A complete walkthrough should include more than keys. The homeowner should receive or be shown information needed to operate and maintain the property.
Useful materials may include:
- Appliance manuals and warranty information
- Heating and cooling instructions
- Electrical and plumbing shutoff locations
- Water heater controls and maintenance guidance
- Paint colors or finish information
- Door, window, and hardware instructions
- Garage door controls and safety procedures
- Irrigation or drainage instructions, if applicable
- A list of warranty procedures and response expectations
- Required inspection or approval records
Ask questions while the person conducting the walkthrough is present. It is easier to learn how to reset a device, replace a filter, or shut off water before an emergency occurs.
What happens after problems are found?
Document each concern in writing before leaving. A useful description identifies the room, exact location, observed condition, and requested correction. “Fix wall” is less useful than “Repair the visible dent on the north wall of the secondary bedroom and repaint the affected area.”
Separate urgent concerns from cosmetic items. Active leaks, missing safety devices, exposed wiring, nonfunctioning heating or cooling, drainage problems, and doors or windows that cannot be secured deserve prompt attention.
After repairs are reported as complete, conduct a follow-up review. Confirm that the original issue was corrected without creating new damage. Keep copies of the punch list, photographs, emails, receipts, manuals, and any signed acceptance documents.
Can a buyer refuse to sign after the walkthrough?
A walkthrough does not automatically give a buyer unlimited authority to delay closing or reject a home. The rights and deadlines involved depend on the contract, applicable law, financing requirements, and the seriousness of the unresolved issue.
Read the purchase agreement carefully before signing an acceptance document. If a major safety, structural, water-intrusion, or habitability concern remains unresolved, legal advice may be appropriate. For technical hazards, such as suspected electrical or gas problems, avoid testing the system further and follow qualified safety guidance.
A careful walkthrough is most effective when it is organized, documented, and based on both visible conditions and the written agreement. It helps establish what is complete, what needs correction, and how the home’s systems are intended to work before regular household use begins.